OK, so it’s not really my 1st, but my third. The 1st modification was to add a louder horn and the second was to add a new variator and exhaust system. Those two modifications really were done by others on my bike. This is the 1st modification I have done all by myself.
I was trying to come up with a way to do a clean installation of a garage door opener for my bike. All of the options I found required you to tie into your electrical system or were kluges. I considered just buying a spare remote and making a housing for it, but the price would have been about $50 for just the parts.
I was searching amazon when I ran across the following item:
http://www.amazon.com/gp/product/B000Q60Z4O/ref=oss_product
This looked to be the perfect item. I ordered it and it arrived two days later. I opened the package and examined the parts. It was indeed well made. The receiver was a snap to install as my garage door wall remote has exposed terminals for this exact type of install. I then set my sites on installing the transmitter. This is when I discovered a problem. The screw that holds the transmitter on the handlebars was stripped. There was no way to remove it, without destroying the screw. Arg!
I examined the unit more closely and saw that it was held together with two nuts. I disassembled the unit. This proved easier than I thought. Once I had the unit apart I decided that I wanted to do a clean mount into the dash. The fluid panel on the left side of the dash seemed the most likely place to install the unit. I removed the panel and drilled two 7/24 holes. Starting with a MUCH smaller bit and working my way up to not damage or oversize the hole.

After the holes were drilled I installed the trigger and the LED status light. There was a metal flange that holds the parts together. I reused this part and re-assembled the unit. The only problem I ran into, was that the thickness of the fluid cover was more than the metal holder it shipped with. I was unable to reuse the lock-washer because of the thickness.


The install appears to have come out nice and clean. My next challenge was where to mount the transmitter and how to route the wires. The pack was too large to store in the fluid container, so I decided I would mount it underneath. This would require cutting of the wires. I would be unable to drill a hole through the container large enough to put the pack through and I wanted a solution that would allow me to remove the transmitter (to change the battery) without having to disassemble the trigger and lights. (too many little parts to loose).
I searched for quick release connectors and found the following Molex connectors. http://www.mouser.com/molexminifith2O/ These looked to be perfect and are also waterproof. It took me a long time to find a vendor that carried them and would sell them in small quantities.With parts on order, I waited.
The parts finally arrived. The connectors were a bit bigger than I expected, but when I examined them, I saw how well made they were and decided to use them. I assembled the connectors. If you do not have a Molex tool for inserting the pins, you will need to completely disassemble the back of the connectors (removing the rubber gasket). This is not at all difficult, but just requires some patients and a light hand on the pliers to remove the plastic tabs.

Warning! Do not cut the wires with the receiver plugged in. It will trigger the remote and your garage door will go up or down, depending where it was. While working on the transmitter, it is best to unplug the receiver.
Now that I had the connectors attached and tested I set to the task of drilling a large enough opening. I started with a small bit and made many little cuts. This allows me to take my time and not over cut. Unfortunately, I had to make the opening a little larger than I wanted to because of the curve of the basin. It was really difficult to cut straight, so it looks a little shabby. The first image below shows the opening from the inside, while the second shows from underneath. I plan to use a file and clean up the sharp edges later.


Once the hole was drilled I needed to find a decent place to mount the transmitter. There was a perfect flat spot up at the top. I decided to mount it there. I tried using the sticky tape that was provided with the unit but it just would not hold. I also tried to use contact cement and while it held very well to the plastic it would not adhere to the Velcro.


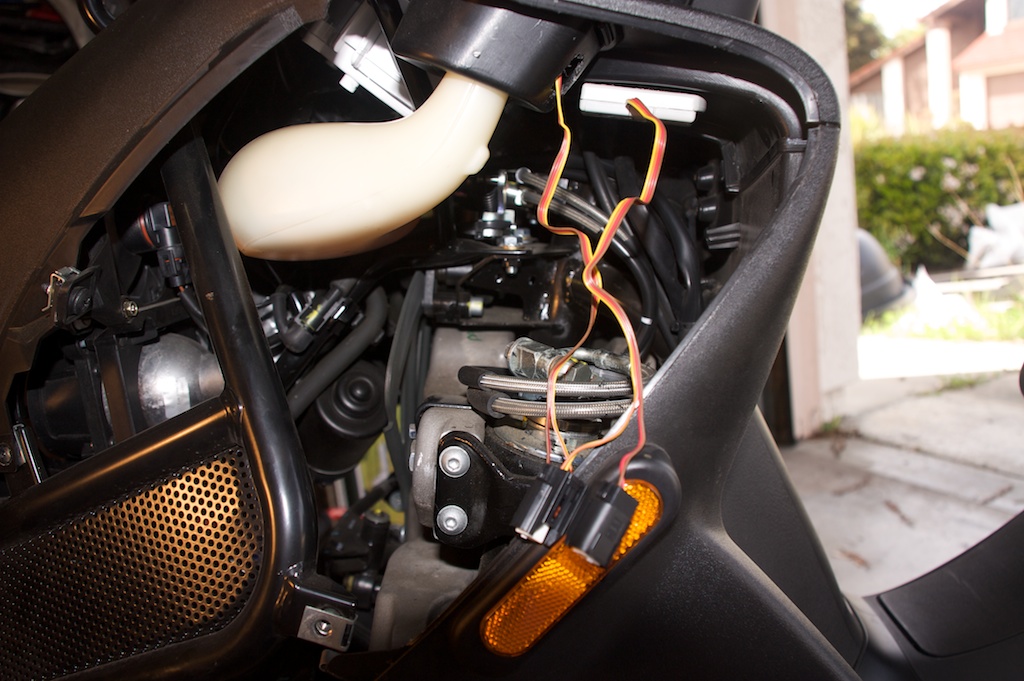
I gave up on that location (at least until I find a better adhesive. I tie-wrapped the wires and connectors to the wiring harness underneath so that it would be out of the way.

The above picture shows where I would like to eventually mount the transmitter, but until I address the adhesive issue, I have tie wrapped it to a solid piece of metal just in front of the hydraulics. I didn’t take a picture of that, sorry!
The only thing left to do at this point (besides the adhesive) is to get a rubber gasket and clean up the opening I drilled in the fluid overflow basin. Here is a photo of the finished project.

The entire cost of the project so far:
Remote $25
Connectors: $16
I expect the gasket to cost between $2 and $5 depending on where I find it.